The past two years have become an exploration into encapsulated page bindings!
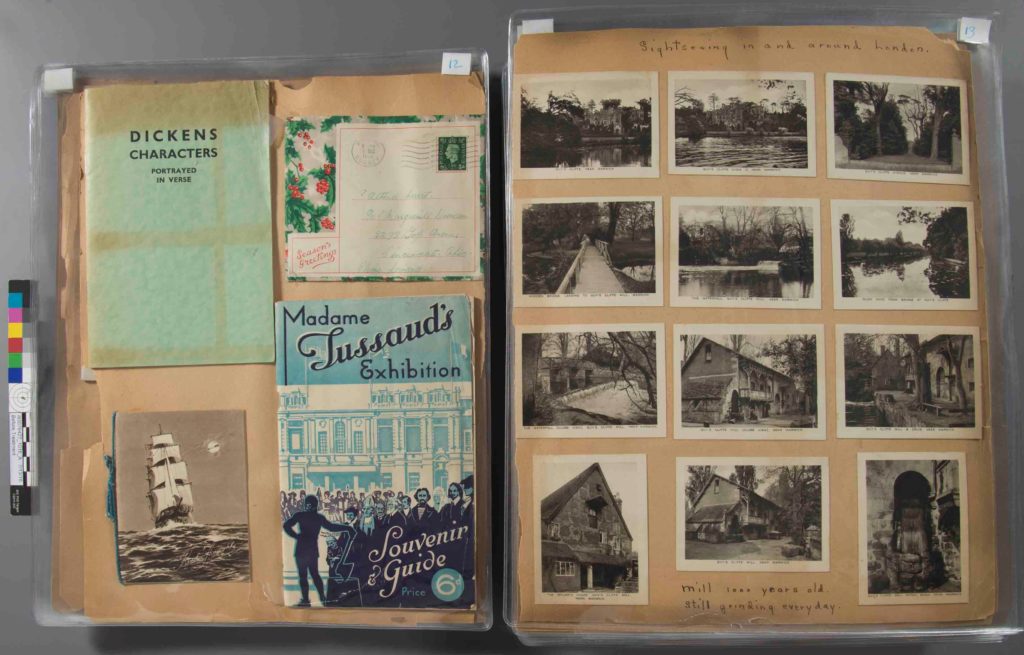
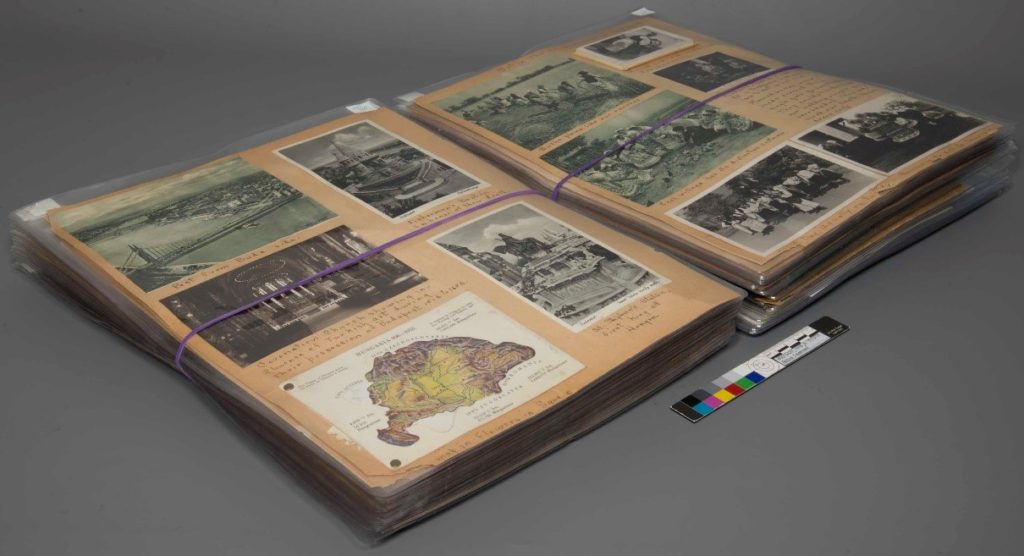
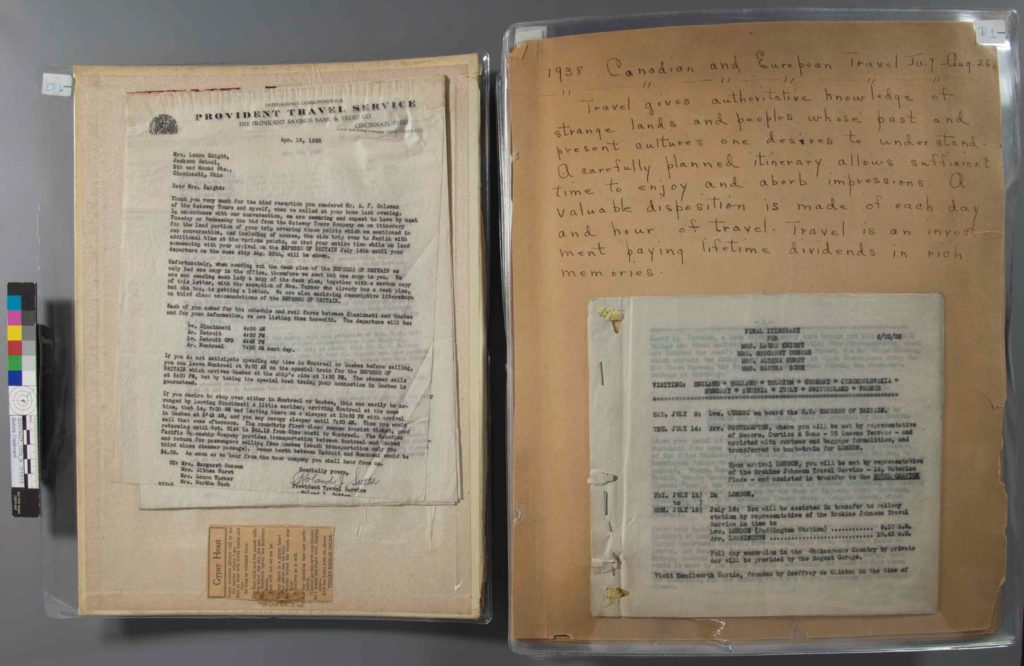
Recently, I found myself faced with a fascinating scrapbook preservation project from the Public Library: the scrapbook of Althea Hurst. I took the opportunity to further research encapsulated bindings made by other institutions to find an existing solution that would fit the needs of the Public Library’s scrapbook.
I didn’t know much about making an encapsulated binding before starting these projects, other than the bindings are usually time consuming and expensive due to the amount of welding and polyester film required.
Being a novice at the traditional encapsulated page binding, I started off with the following criteria in mind:
- Something elegant to house an important object
- Lightweight, protective, yet strong and supportive for large brittle books
- Reversible for displaying pages, future repair, or digitizing parts
I figured, “This will be easy. I’ll take a quick look to learn the structure of a traditional encapsulated binding and be on my way to preserve the attached parts.”
Little did I know, after reading a few articles and surveying a few structures – there isn’t a standard model. There are many variations depending on how an object is used, as well as the condition of an object and format. I was surprised to find that encapsulated bindings can be screw post bound or sewn in a variety of ways!
Here are a few case study examples:
Example #1: Larry Yerkes model, images from the University of Iowa Libraries’ website
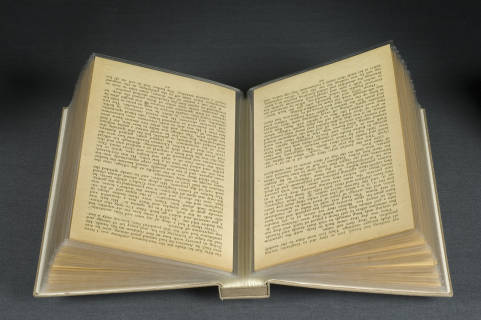
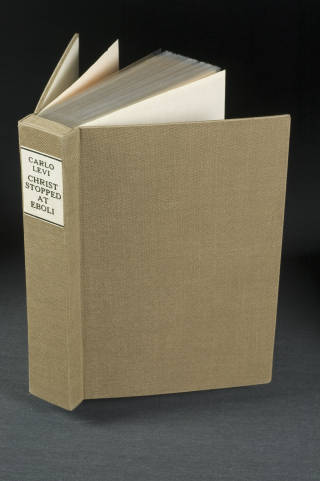
http://digital.lib.uiowa.edu/cdm/compoundobject/collection/binding/id/55/rec/4
This is a full cloth covered binding that doesn’t reveal that it is an encapsulated page binding until you take a closer look inside. I especially like that the pages are supported overall due the setback joint of the cover. Also, the spine is covered, protecting the encapsulated pages from dust.
The drawback to this structure is it might take a little work to remove the case if the object needs to be disbound, thus requiring a new case for rebinding, resulting in an expense of time and resources. However, I found it an overall elegant construction and took note of the protective paper endsheets.
Example #2: Oversized Classics Library Binding, bound by the collaborative Cincinnati Preservation Lab
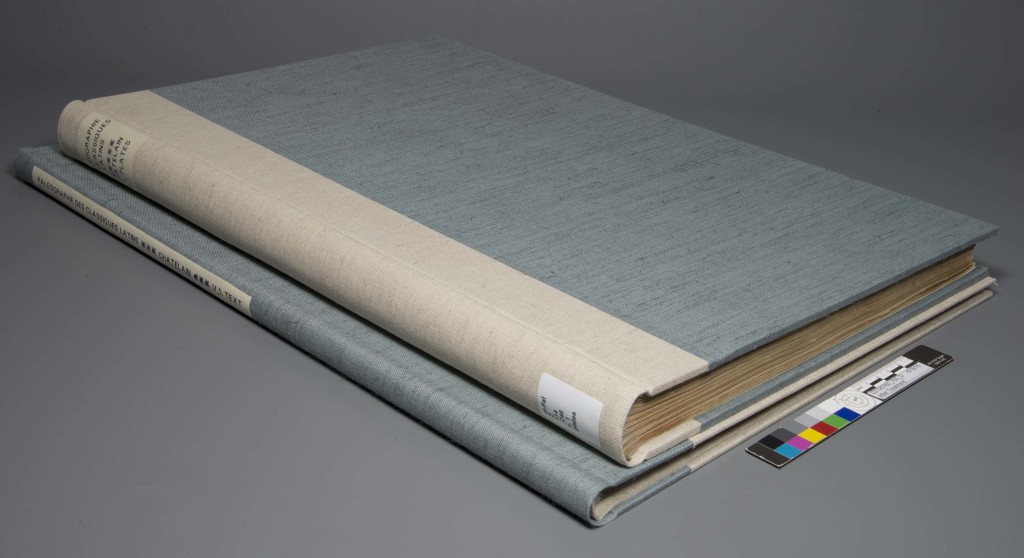
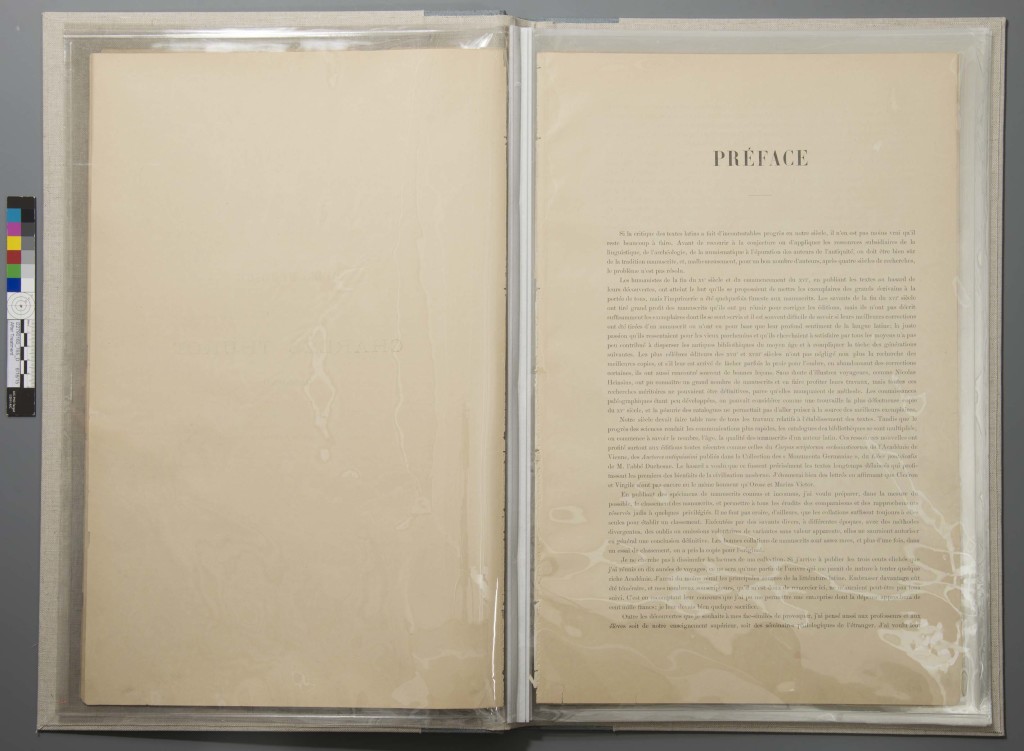
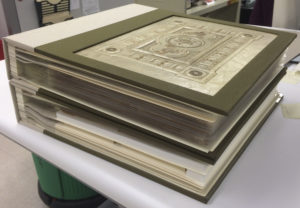
The Lab’s first encapsulated binding project was to house a brittle oversized text from the University of Cincinnati’s Classics Library after it received in-depth treatment. The first structure we experimented with was a modified full-leather-over-an-exposed-spine binding structure. This structure was taught to the lab’s technicians, Veronica Sorcher and Chris Voynovich, at a course by Gabrielle Fox. The sewn structure was altered from Gabrielle’s original form by using a cloth covering. The textblock consisted of polyester leaves welded into folios with Hollytex hinges (a new technique I discovered last year – more on this in Part Two). It was sewn with a single pamphlet stitch through each gathering, therefore, should a gathering need to be removed in the future, it could be cut out without disturbing the rest of the binding. I found this solution extremely satisfying. The rounded spine structure complimented the second volume’s split board library binding well. It handled nicely and opened flat – perfect for a paleontology class to flip through while looking at a book of plates.
Example #3: Binding by my predecessor, Kathy Lechuga, bound at the Preservation Lab in Cincinnati.
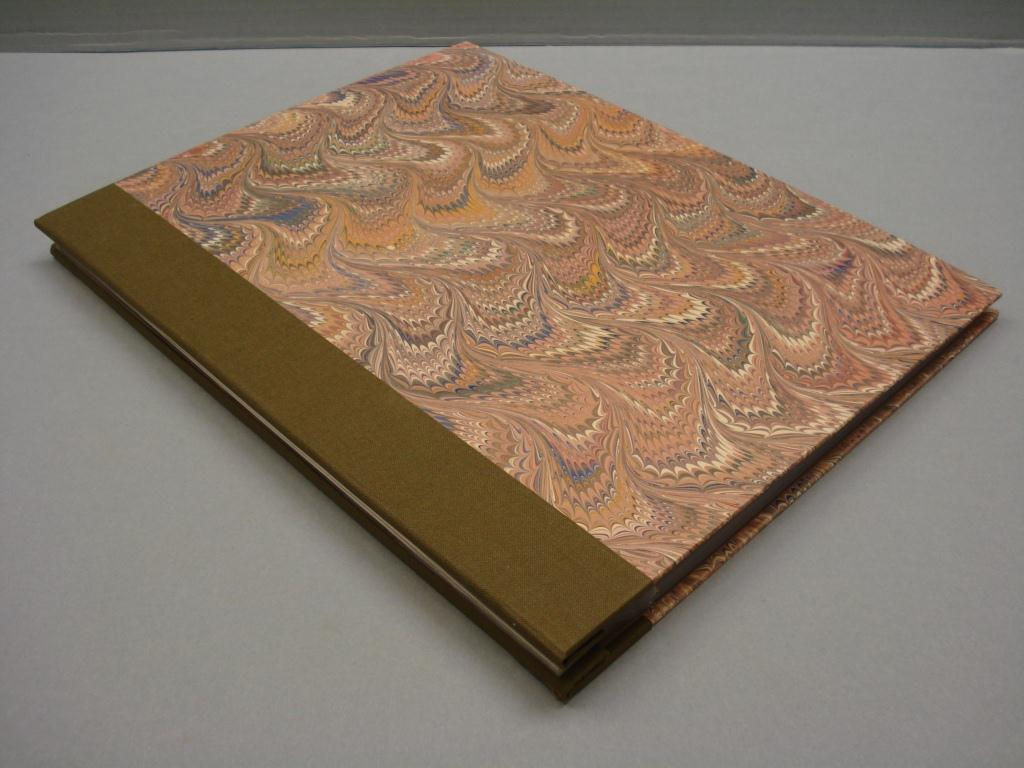

This is a traditional structure that is elegantly quarter bound with a cloth spine and marbled paper boards. I like that this is a relatively quick structure to construct compared to the University of Iowa model. This design is perfect for a thin group of lightweight paper as shown in the image above. It’s a screw post binding which makes it reversible. Since the spine is uncovered, it can easily expand if additional pages are added later. This structure is reversible and adjustable without the need to construct a new binding.
In the above example, the screw posts are positioned on the inside of the cover. There are no exposed screws on the outside of the book, so books adjacent to the binding on the shelf are not at risk to abrasion. However, compared to the University of Iowa’s version, I noticed that the position of the posts places the cover’s joint at the edge of the spine, rather than set back. This results in pages that are unsupported near the gutter when open.
In the above example, it’s not an issue for the pages to flex near the gutter. I think this is a perfect structure for the needs of this specific object, however, I kept this in mind since flexing at the gutter might be problematic for an oversized heavy scrapbook with brittle pages that are crumbling. To remedy this, the screw posts would need to be situated on the outside of the binding so the cover’s joint would be set back. Unfortunately, some may argue screws on the outside of the binding aren’t quite as elegant.
After reading Henry Hebert’s extremely descriptive article in Archival Products News, I saw a beautiful example of screw posts on the outside of the binding and I really liked how the brittle pages were supported overall. Was there a way to have the best of both worlds?
Example #4: Ohio Book Store, Cincinnati, Ohio
http://www.ohiobookstore.net/images/VR_binding.jpg
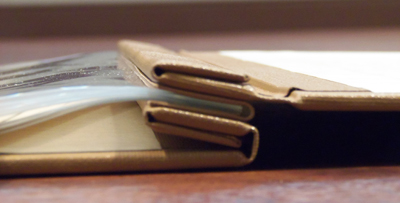
Similar to Kathy’s version, this binding contains a few fancy additions: A reversible cloth spine and an extra flap to cover the screw posts on the inside. This flap helps protect the screw posts from rubbing on the inside of the cover, as well as possibly preventing the screws from loosening overtime.
Example #5: University of Michigan Side Sewn Binding
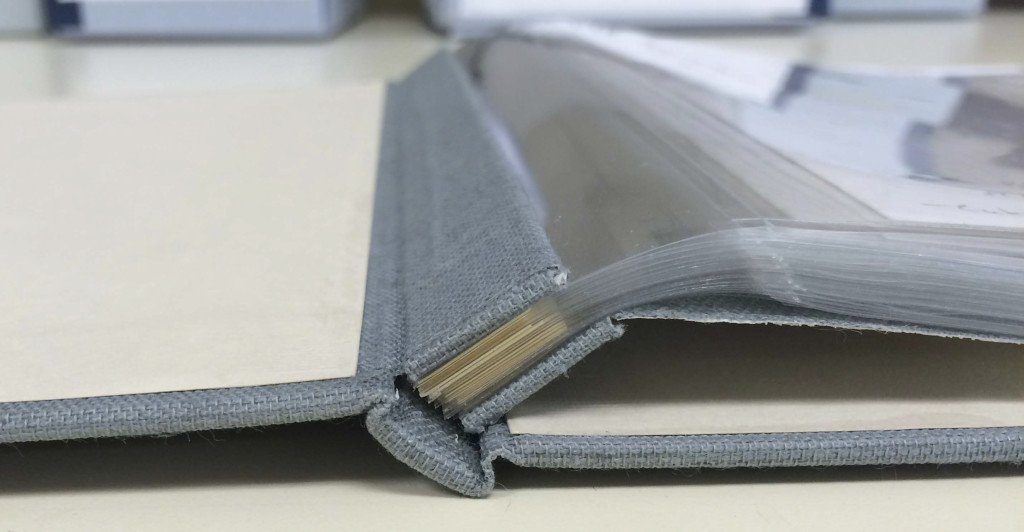
One of the final versions I came across was the side sewn cased-in binding introduced to me by my talented Buffalo State classmate, Aisha Wahab. I loved that the binding was sewn. In a pinch if I was out of screw posts I needn’t worry. But more importantly, this binding is elegant, the spine protected, and perfect for housing thinner books that don’t need the thickness of the aluminum post. The only issue – not as easily reversible as other bindings since the sewing was covered by cloth.
Through my research, I didn’t find a quick fix with a one-size-fits-all structure to meet my needs. Instead, I was able to incorporate some of my favorite elements from each structure and create my own.
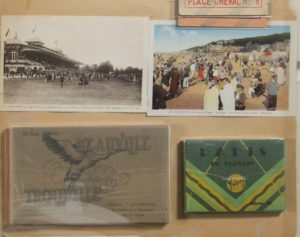
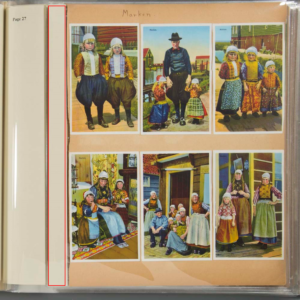
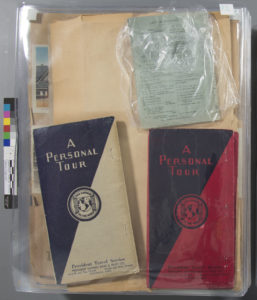
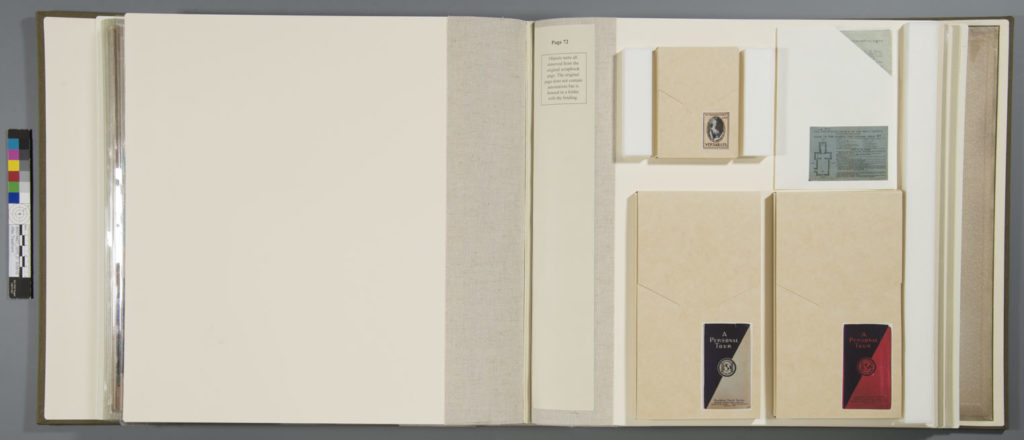
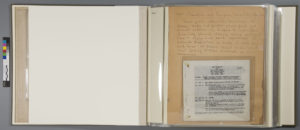
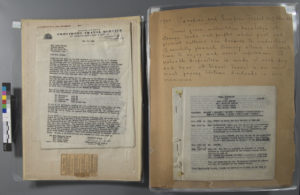
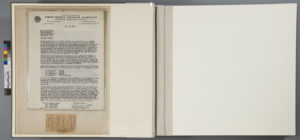
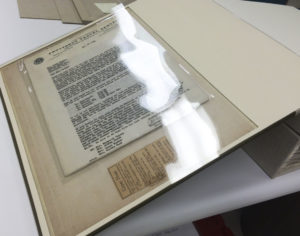
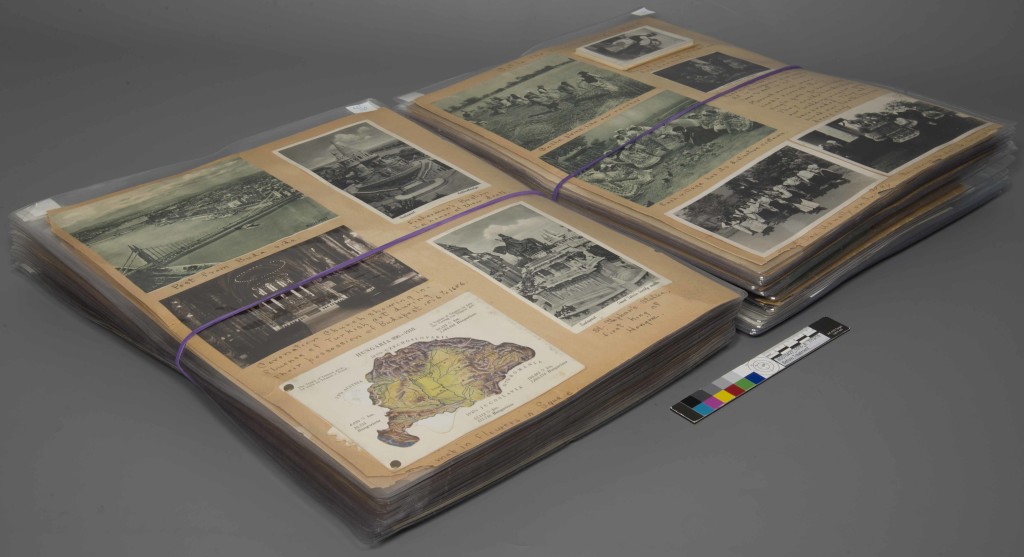
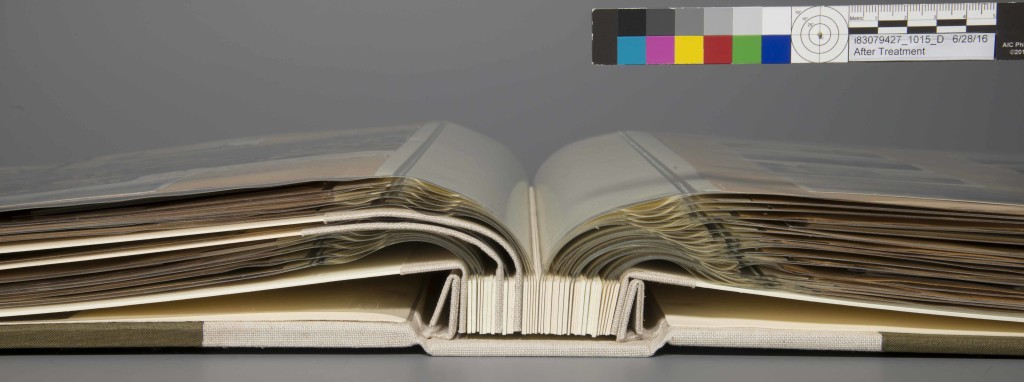
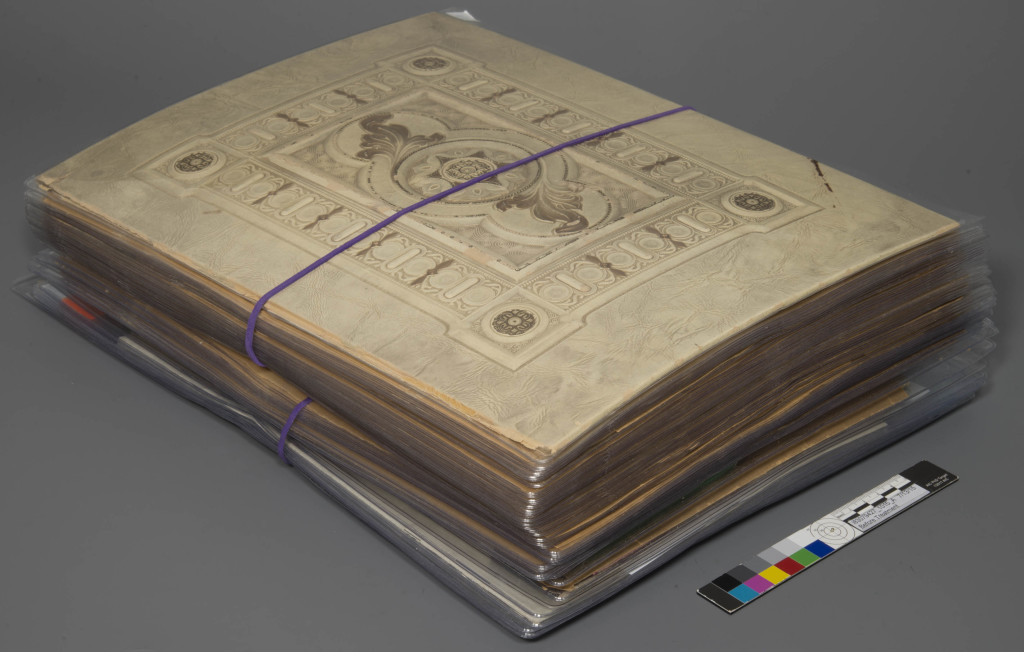
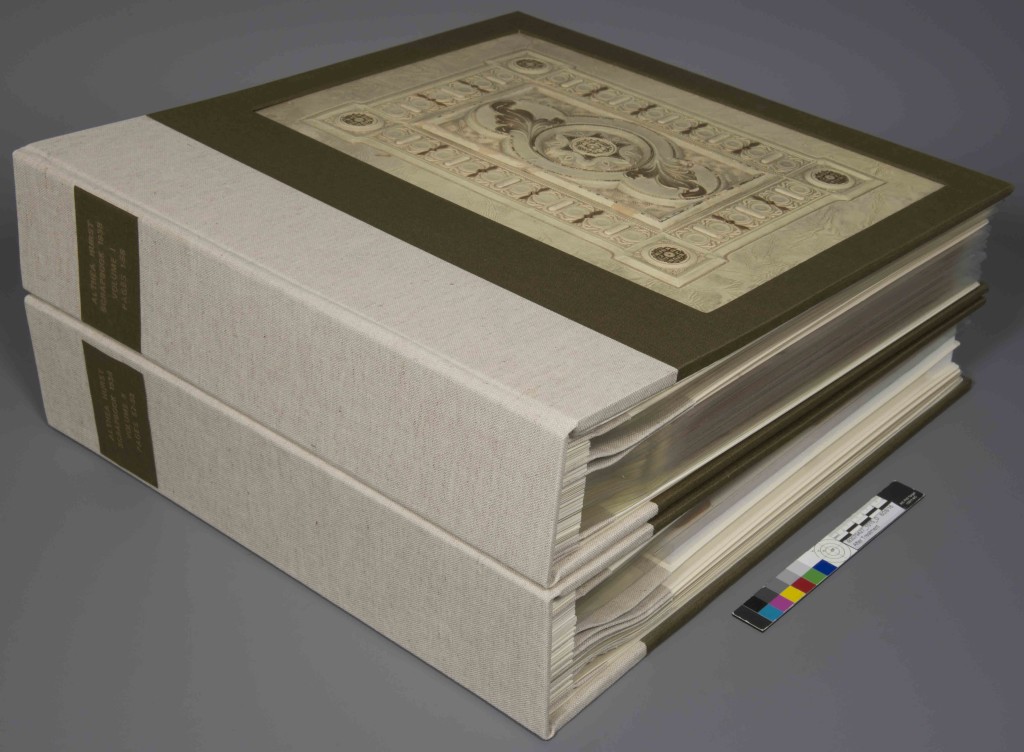
See below for a sneak peak of the solution for the Althea Hurst scrapbook.
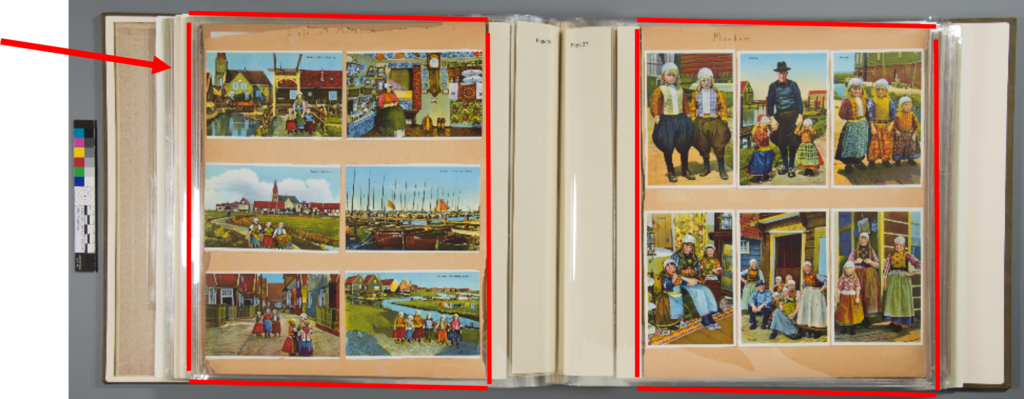
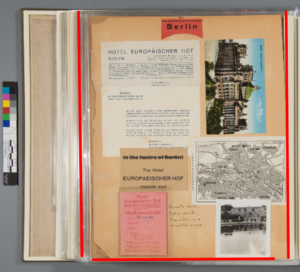
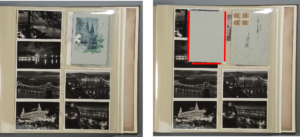
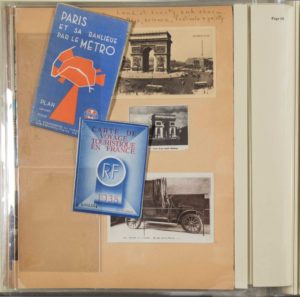
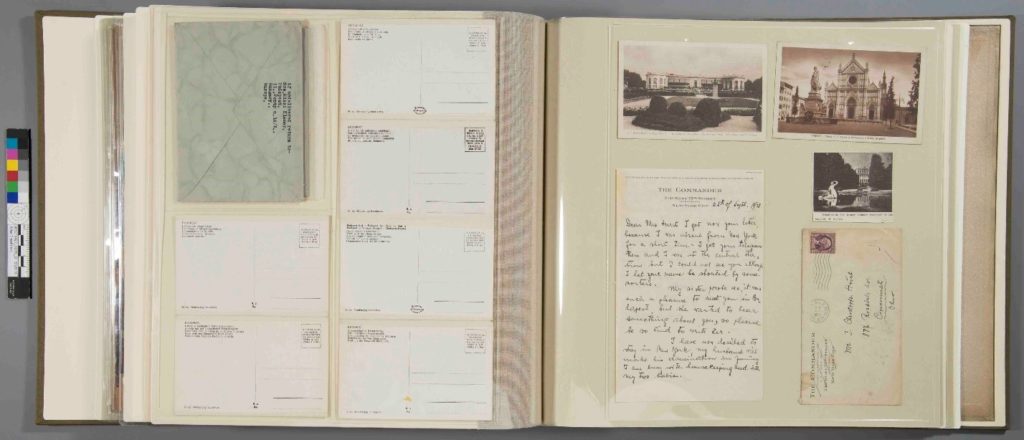
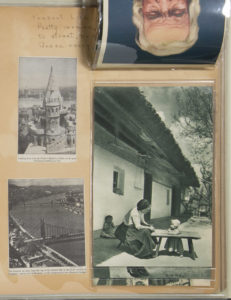
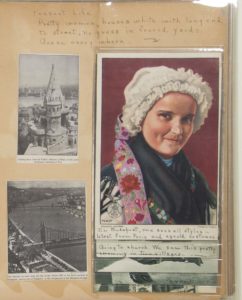
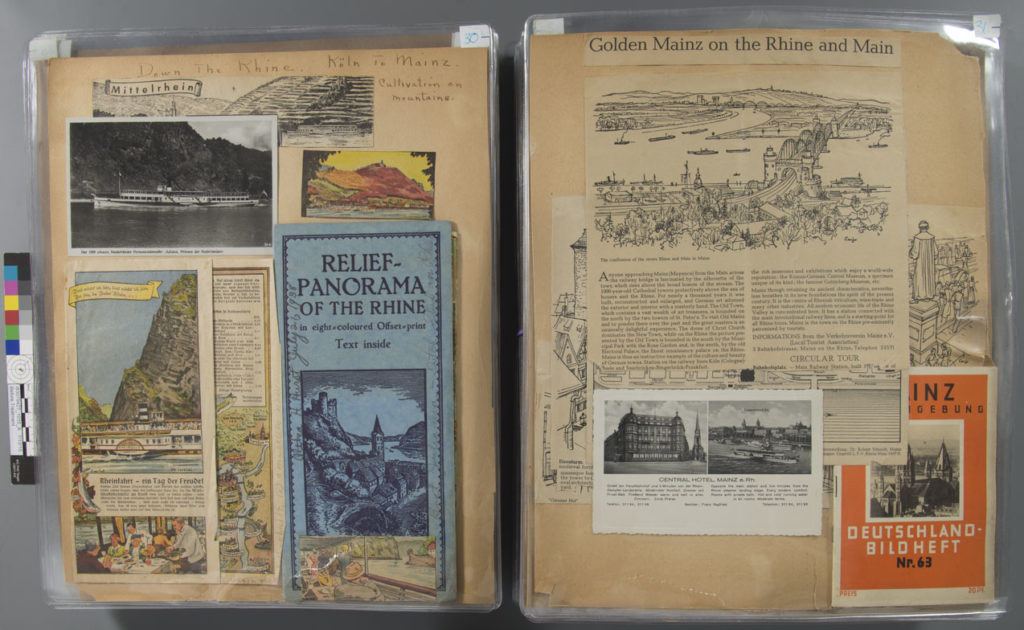
Before Treatment, housed in acidic “vinyl” sleeves:
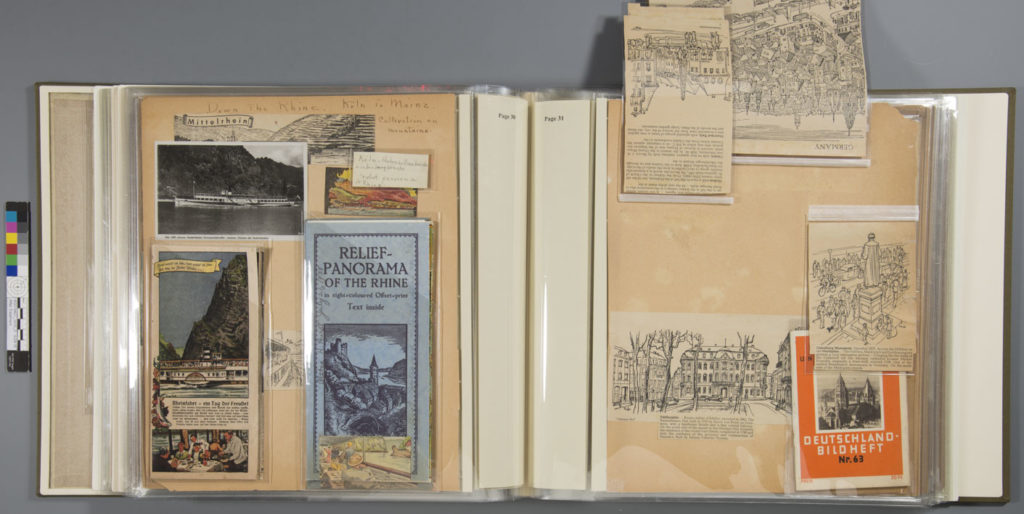
After Treatment:
The next hurdle to jump:
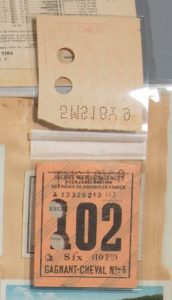
How do I encapsulate a scrapbook that houses a variety of adhered material, such as pamphlets, postcards, letters, maps, and more, and still make the parts accessible?! See the Polyester Encapsulated Page Bindings, Part Two.
Resources:
Ashleigh Schieszer (PLCH) — Conservator, Conservation Lab Manager
