How to make a book
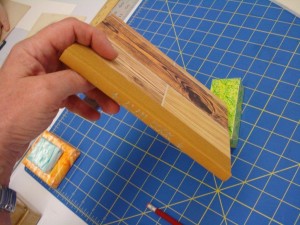
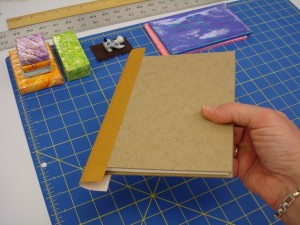
Making a blank book can be a lot of fun and it’s fairly easy to do if you have the right equipment. A blank book can be almost any size, shape and color that you want it to be. It can be used as a sketchbook, diary, photo album or just about anything you can think of. The type of book I am making is called a quarter binding because approximately one quarter of the cover is cloth while the rest of the cover is paper.
To start I decide how big my book will be. In this case it will be 7 ½ inches high by 6 inches wide. The textblock will consist of 8 signatures sewn together across linen tapes. I’ve chosen acid-free white Mohawk paper for the pages and I cut this into strips of paper a bit more than twice the width of the book with the grain running head to tail.
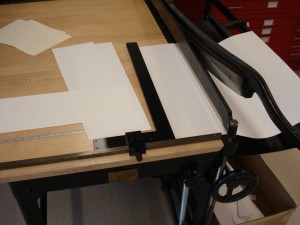 Once this has been completed the strips are carefully folded into signatures with each signature consisting of three single fold sheets of Mohawk.
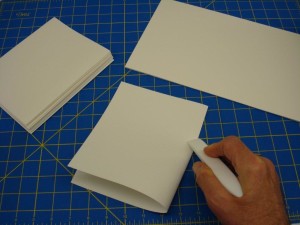
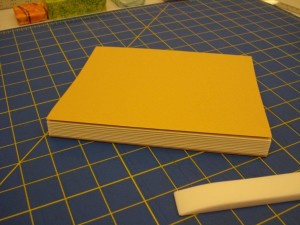
Next I have to make the sewing stations, which are the holes that the sewing will go through. These are carefully measured and must line up exactly the same on all signatures.
For this book I have a hole at the top and bottom of the signatures for what we call a “Kettle” stitch and three sets of holes on either side of where the linen tapes will go. We first measure and poke the holes into a sturdy, folded sheet of Bristol and then use that for a template to punch the sewing stations through the signatures.
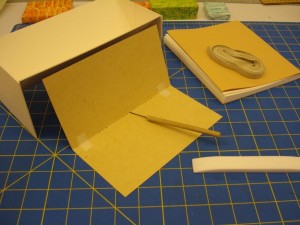
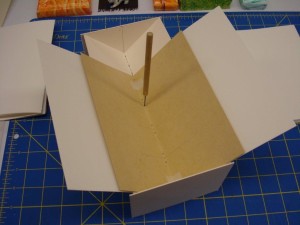
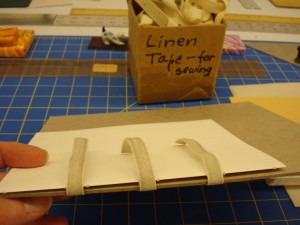
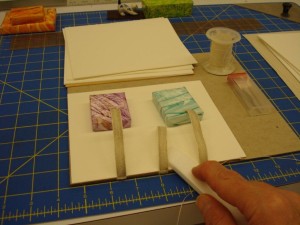
I have the linen tapes taped to a board (paper, not wood) in a way that will line them up with the inside of the three sewing stations in the middle of the signatures.
I then sew the eight signatures together across the tapes with number 25 weight thread. As each signature is sewn to the textblock, I “bone” down the back of the signature with a bone folder to help reduce the thickness of the spine.
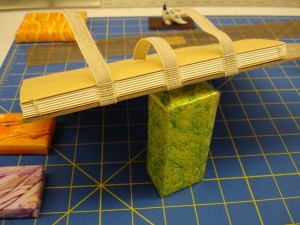
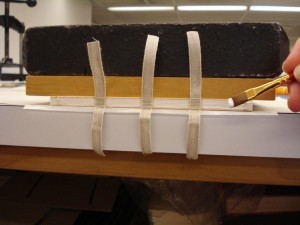
When all of the signatures have been sewn into a textblock, I place it under a weight and coat the spine with a PVA based adhesive.
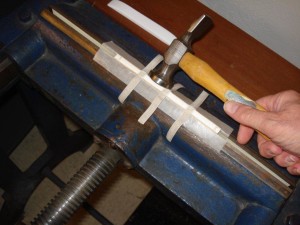
I avoid getting any of the glue on the actual tapes or thread. When the spine is dry I put the textblock into a press and, using a special hammer and my bone folder, I gently tap and press the spine into what we call a “Round”.
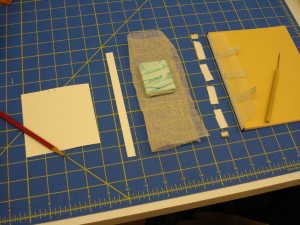
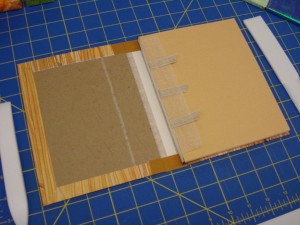
The round is the slight curvature of the book’s spine. After this has been completed, the spine of the book is lined with several materials. The first consists of end bands and strips of heavy, thick Japanese paper called “Hosho”. The Hosho is placed between the linen tapes to make the spine a smooth, uniform surface without the bumps that the tapes would otherwise make. Over that I will place a sturdy mesh cloth called “Mull”. The mull will be wider than the spine on either side and this, along with the linen tapes, will hinge the textblock to the cover. Lastly, a strip of Mohawk is placed over the mull and is the width of the spine.
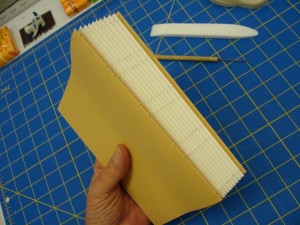
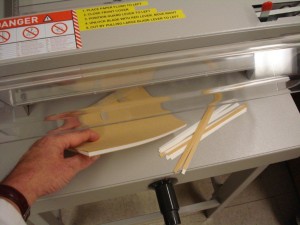
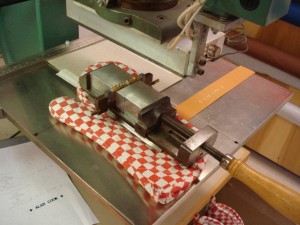
When the spine lining has dried, I take the textblock over to our guillotine and trim its fore edge so that the pages of the text are the same width.
The textblock is complete and now I am ready to make the cover. To begin this, I choose an appropriate weight board and cut two pieces exactly the same height and width. These should be a bit taller and wider than the textblock.
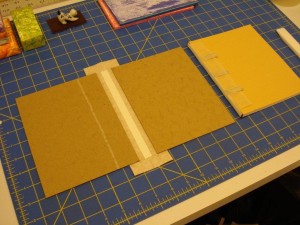
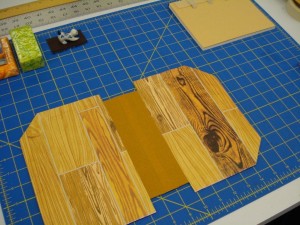
I select the cloth that I will use for the spine of the cover and measure it to be approximately the width of the spine plus two inches by the height of the cover boards plus an inch and a half. After lining the inside of the cloth with a strip of Mohawk that is the width of the spine, I’ll glue the cover boards to the back of the cloth strip. When this has dried, I check to make sure the cover fits over the textblock and that there is enough room for the gutter joint that will run along the edge of the spine.
If the fit looks okay, I’m ready to choose the type of paper I want and glue it to the cover. I cut two sheets of the paper I have selected. The cover paper measure is the height of the board plus an inch and a half by the width of the board (starting from the cloth hinge) plus three fourths of an inch. These are glued to the boards with a PVA based adhesive called “Mixture” and put under weights to dry smooth and flat.
Next the turn-ins are glued down and the cover is complete.
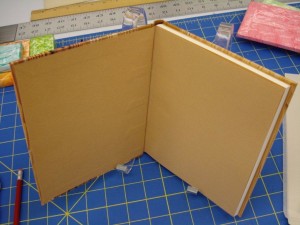
The last step is to glue the textblock to the book’s cover. Before I do this I put wax paper behind the first and last pages of the textblock. Then I put two pieces of waste paper over the wax paper. The waste paper and wax paper should be slightly larger than the textblock. Apply mixture to the first page, the mull hinge and the linen tapes. Remove the waste paper and close the cover around the textblock, flip the book over and repeat the process on the other side of the book.
The first and last pages, now glued to the cover, become what we call the “Pastedowns”. After this has been completed put the book into a press and let it set overnight. If needed, a title may be stamped and glued to the spine or cover.
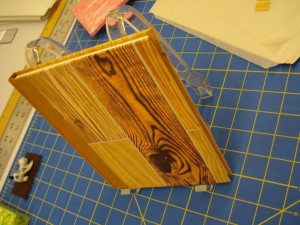
The blank book is now complete. One thing to remember about making a book is that there are many different types of sewing to choose from or, in the case of an adhesive bound book, no sewing. Also there is a large variety of covering materials to choose from as well, ranging from handmade papers, marbled paper, paste paper, cloth or leather. I suggest using the internet as a good source for more detailed instructions on book making, glossary terms and the type of materials and equipment you will need.
Patrick Schmude – Sr. Conservation Technician (UCL)
