Tag: leather

Fun with PhotoDoc – RTI Viewer Video (Edition 6)

Fun with PhotoDoc – RTI Viewer Video (Edition 6)

In my last “Fun with PhotoDoc” post I discussed the my recent RTI training with Cultural Heritage Imaging at Yale University.  If you missed that post you can check it out here.  In that post I discussed our first RTI capture session on a book entitled, Aller Bücher und Schrifften des thewren, seligen Mans Gottes Doct. Mart. Lutheri …, which is part UC’s Archives & Rare Books Library’s collection and is the eighth volume in an eight volume set.   The binding is most likely age-hardened alum-tawed leather (though possibly vellum) on wooden boards with embossed paneled decoration that is barely visible under normal illumination.  In that first RTI blog post I shared some snapshots of the various RTI modes you can explore within the RTI Viewer software, but I knew that I ultimately wanted to create a video capture of the RTI Viewer in action.  I was finally able to do that using a free software called TinyTake.

This video can also be viewed through UCL Media Space:  https://stream.libraries.uc.edu/media/AllerBucherUndSchrifften_i17632730_VideoCaptureRTI/1_s13c9opc
In this video we explore the following modes built within the RTI Viewer as the light position is moved around the object:

  • Default Mode (HSH)
  • Specular Enhancement Mode with color removed (HSH) – notice the “1571” inscription that becomes more apparent.  This volume was printed in 1568, and we believe that 1571 was when the publication was bound.
  • Normals Visualization Mode (HSH) – allows the human eye to better determine is convex and concave on the surface of the cover.
  • Diffuse Gain Mode (PTM) – This mode is ideal for visualizing surface abrasions and losses. Take notice of the “ID” inscription that becomes more visible, and when we switch back to the default mode you can see that this “ID” inscription is virtually invisible to the naked eye.

I have to say, Catarina and I really enjoyed the capture process for this binding, but when we found that “ID” and then looked at the physical binding and could barely see anything…we were kind of giddy!  I’m hoping to create more RTI Viewer video captures like this as we carry out more RTI capture sessions for collection materials.  When I do, I will make sure to share them here.
Jessica Ebert (UCL) – Conservation Technician
Prepping for a Shift

Prepping for a Shift

Stack shifts and moves are an inevitability in libraries.  Collections change.  Spaces change, more often than not becoming too small for the collection(s).  And in the end a shift of collections is imminent.  For most collections these stack shifts do not require the intervention of a conservation lab.  Periodical bindings moving to another floor?  It happens all the time and that’s that.  But when special collection items are shifted or moved, the Preservation Lab generally plays a part.  So when UC’s Archives and Rare Books Library decided to move and shift the bulk of their oversized special collections between stack levels the Lab was contacted to play a part in the prep work.
The plan? To measure and box as many unstable or unwieldy oversized books that will be moving between floors or shifting within narrow, restrictive shelving stacks before the move in April.  In order to keep our current workflow of treatments (both general circulating and special collections) for both institutions going, it was decided that a couple of lab staff would measure the books on-site (ARB Library), have corrugated enclosures created through our commercial bindery vendor, and then as the boxes were received the staff would match up the books with the boxes.  Three staff members, Holly Prochaska (librarian), Veronica Sorcher (technician), and myself, took on the duty of assessing the books and taking measurements for those we felt could easily hinder the move or be damaged further by handling and moving.

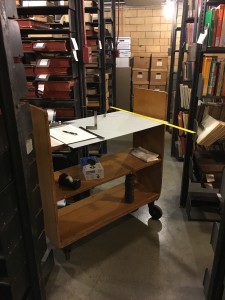
MeasuringSetup
Measuring in the stacks and making do with the space you have.

At this point we are about half way through the process.  We’ve measured over 750 books for enclosures!  We enlisted one of our trusty student assistants to record all the data so that we could send it off to the commercial binder.  The first batch of 150 boxes arrived and were matched up with the books earlier this week.  And luckily, our error rate was actually very low, even with that first batch where we were still figuring out the kinks of measuring in confined spaces and often dim lighting!
What’s the workflow like?  Each person has list of numbers that correspond to the number the binder prints on the inside of the enclosure, per our request.  For each number, the staff member records the call number (to be printed on the spine of the box), along with the height, width and thickness of the book.  A flag with that number written on it (in pencil, of course) is then placed in the book so that it is visible on the shelf and clearly recognizable when matching the boxes to the books.  So far, the process has worked pretty well.
What kinds of things are we prepping for storage and handling?  Prime candidates for move-prep housing include…

  • Any book previously tied with cotton tying tape, usually to hold a detached/loose board or textblock in place.
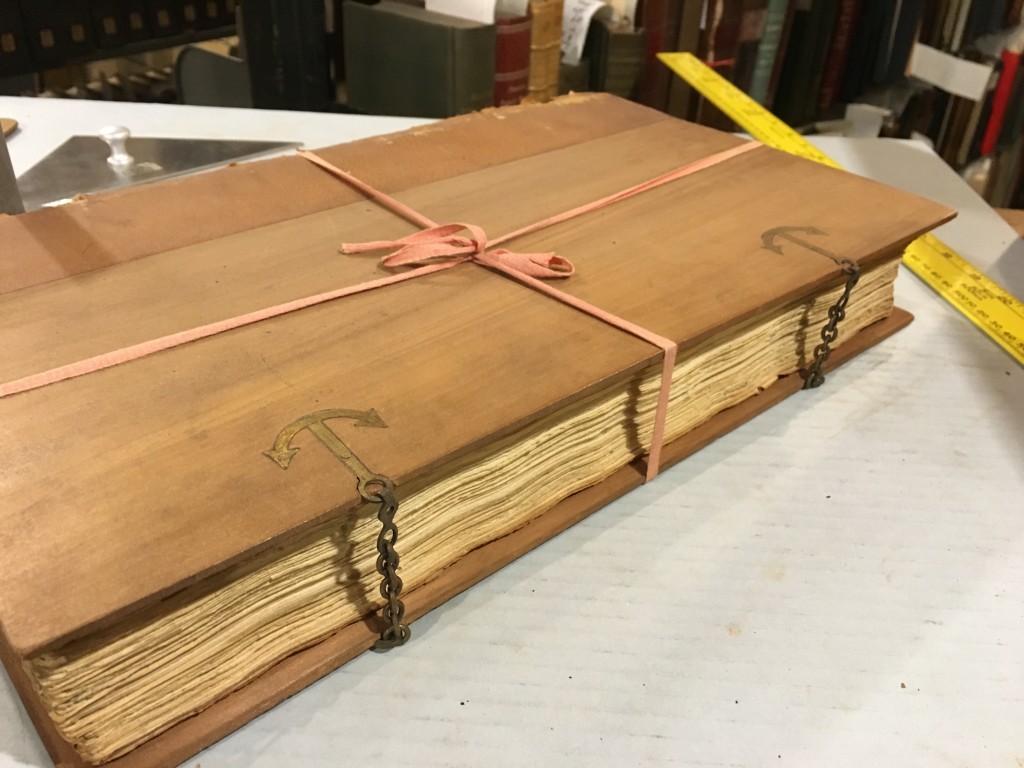
    In this case, boards were detached from the spine/textblock. But let’s just talk about the reason I really took a photo of this book on Christopher Columbus…the anchor clasps and catches! How cool are those?
    In this case, boards were detached from the spine/textblock. But let’s just talk about the reason I really took a photo of this book on Christopher Columbus…the anchor clasps and catches! How cool are those?
  • Any book with loose, detached, or protruding parts that could be abraded, damaged further, or lost during the move.
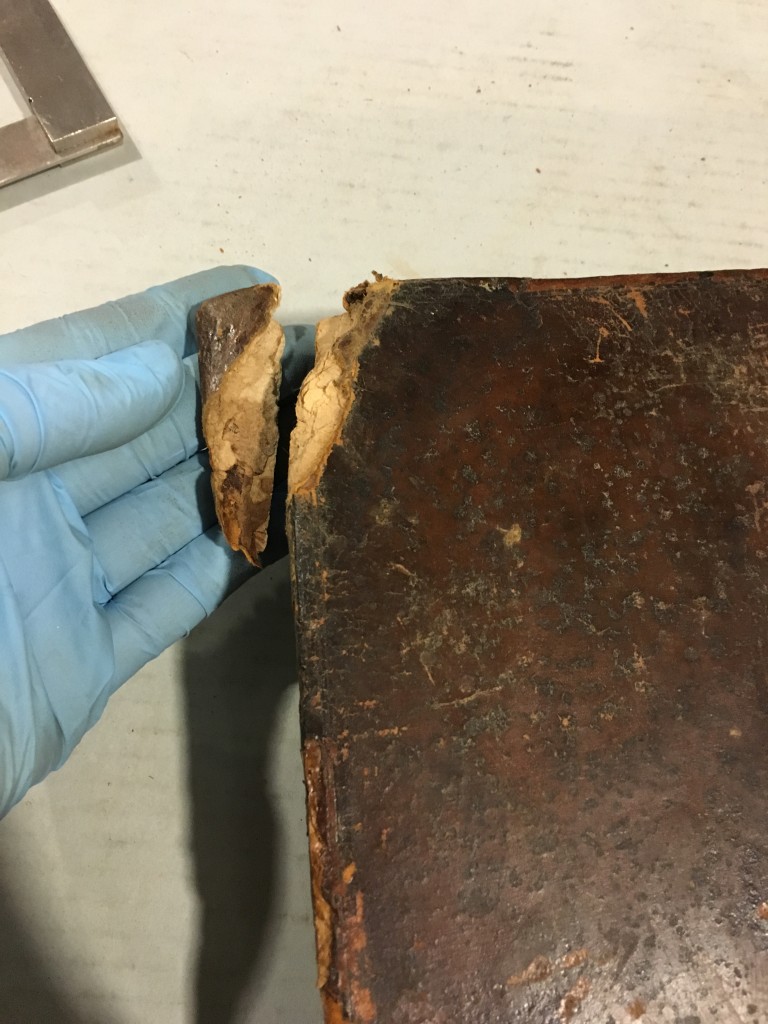
    When I originally pulled this book off the shelf the measure it the corner was nowhere to be found, but I found it a couple shelves down resting on top of another book.
    When I originally pulled this book off the shelf the measure it the corner was nowhere to be found, but I found it a couple shelves down resting on top of another book.
  • Any extremely fragile or flimsy books, including extremely oversized, thin bindings or bindings with fragile paper or degraded leather covers.
    This full leather binding must have been fire damaged at some point. The leather on the spine was so fragile and would crack and break if you looked at it the wrong way.
    This full leather binding must have been fire damaged at some point. The leather on the spine was so fragile and would crack and break if you looked at it the wrong way.
  • The evil monster known as RED ROT!
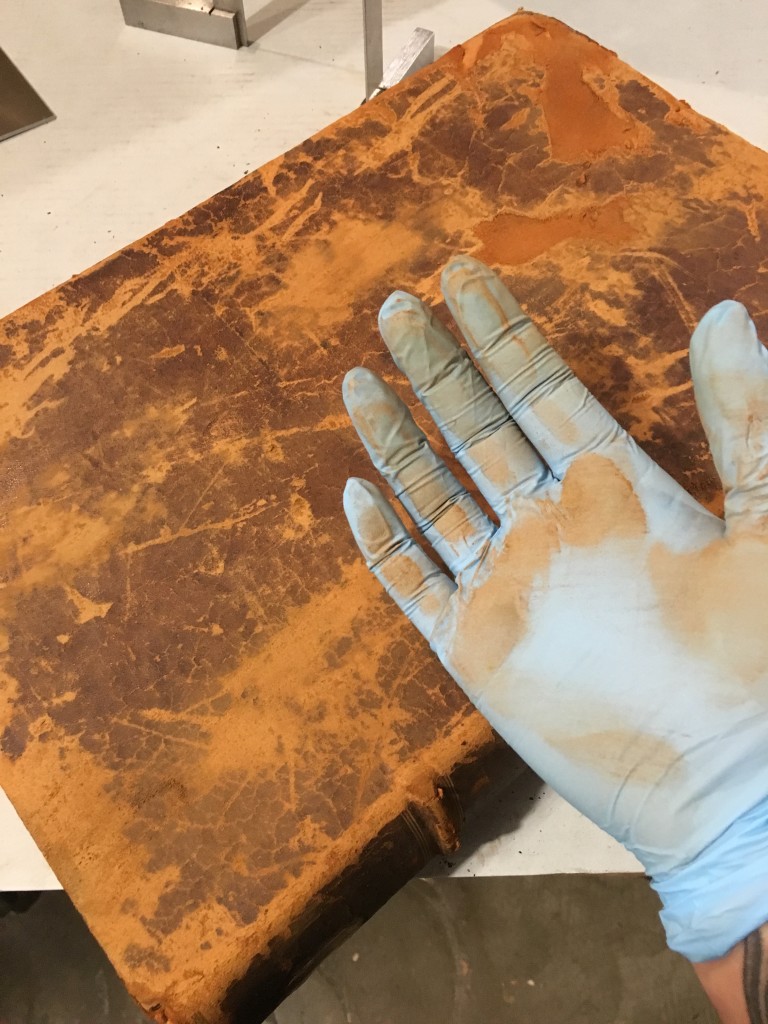
    RedRot_2
    Obviously not all books with red rot were boxed, especially those with very minor cases. But books like this, where the movers and every book in the surrounding area would be covered in a red layer of degraded leather…those get boxes!

If you’re interested in seeing more snapshots from our adventures of measuring in ARB, check out the Preservation Lab’s Instagram, here.
Jessica Ebert (UCL) – Conservation Technician
18th and 19th century leather: A Conservation Challenge!

18th and 19th century leather: A Conservation Challenge!

If you’ve ever had the pleasure of handling special collection materials, you may have noticed that some books stand the test of time better than others.
In particular, why is it that some older leather books that date to the 15th century still function well, while other leather covered books from the 1700’s and 1800’s fall apart and turn to powder in our hands?
The reason is twofold. Books made in the Carolingian, Romanesque and Gothic periods were highly engineered luxury items that were made with high quality materials. Later, as books become more of a household commodity, quality was sacrificed to meet rising production needs, leading to books being made cheaply with poor quality materials. The common degradation we find in 18th and 19th century tightback leather bindings is a direct result of poor construction combined with the use of poor quality materials.
What exactly is causing this later leather to degrade? There are many reasons such as environmental factors, but two of the most common condition issues are caused by the type of animal skin used, and the materials used to tan the leather.
For example, sheepskin leather exhibits characteristic degradation of shearing away in layers while calfskin does not. This is essentially because sheep have a thicker undercoat of fur. The roots of the sheep’s undercoat grow in-between the lower corium and upper grain layers of the skin, and after the hair is removed during the tanning process, a microscopic void is left between the layers of skin. As a result, the leather becomes vulnerable to delamination overtime (see photo below).

Read More Read More